As a farmer I have so far sold my grain as raw grain – yet people talk more and more about the need for value-adding. It would be foolish to sell raw material without processing. So I thought: how hard can it really be – you grow wheat, grind it, and happiness follows?
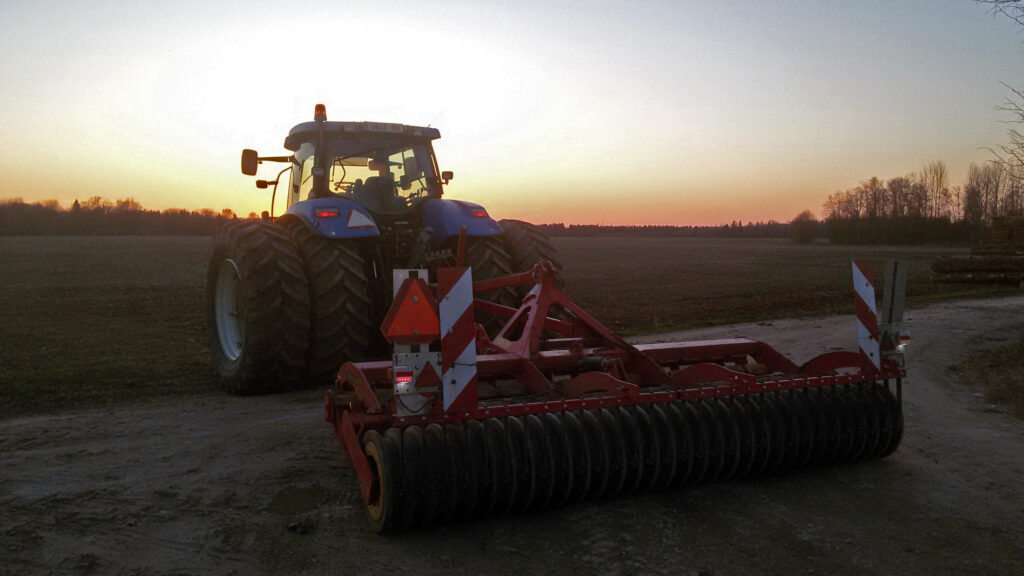
There were 341 days between sowing and harvesting (07.09.2024–14.08.2025), during which I made 20 field operations. Yes – I really did have to go to the field several times with the tractor or combine to make the grain suitable for flour.
Growing food-grade wheat is actually quite a complicated process, and at every stage the biggest shareholder – the weather – can ruin everything. But how did it really go?
Variety selection – Naturally I needed a winter wheat variety with the right inherent characteristics so that, with proper agronomy, it could become grain suitable for milling. I chose “Perenaise”. Why? Because I wanted to acknowledge our excellent plant breeders. This choice carries symbolic value: an Estonian farmer grows an Estonian variety in Estonian soil. And finally, I wanted to see for myself whether “Perenaise” is really as good as the brochure promises.
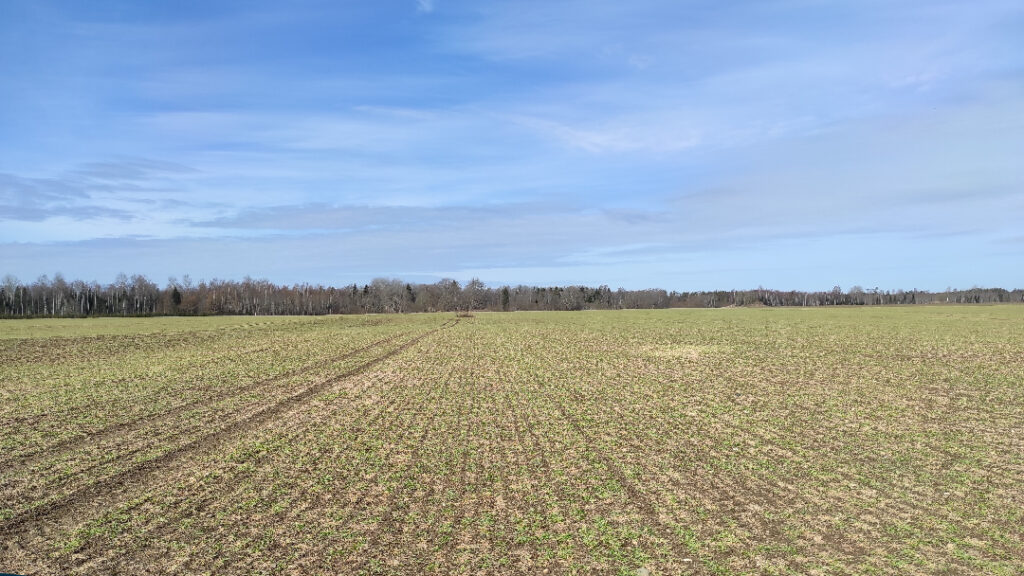
Field selection – I chose a field that had been “resting” under clover for a whole year. Clover supplies nitrogen to the soil, which is essential for achieving a good canopy and grain quality. So I went for a safe option — making sure the field itself would support the crop in addition to mineral fertiliser.
Sowing – I sowed “Perenaise” on 07.09.2024 — slightly earlier than the optimal window (10.09–25.09). Since other jobs and fields were also waiting, I decided to sow sooner. Autumn weather is unpredictable, and it was important that the plants would become strong enough to survive the winter.
Macro-fertilisation – “Perenaise” is not a very high-yielding variety — 10 t/ha is unrealistic. Rather about 5–6 t/ha. Therefore, I applied just enough nutrients so that I wouldn’t take more from the soil than I had put in — enough phosphorus and potassium.
Micro-fertilisation – Micronutrients like zinc, copper and sulphur are important for producing quality food wheat. I took sap samples, which showed deficiencies in some elements, and added them via spraying. It’s a good reminder that spraying does not always mean plant protection — sometimes it’s simply nutrient supplementation.
Nitrogen fertilisation – The most important fertilisation. In total I applied 175 kg/ha of nitrogen, of which 155 kg/ha in spring. In yield varieties this would normally mean yields starting with the number 7, if not 8 or higher under normal growing conditions. On the other hand, my goal was top-class food wheat, so I applied this amount together with sulphur to achieve quality. Usually high yield = low quality, because nitrogen runs short. I believed that for “Perenaise” I could get an above-average yield without compromising quality, so I set 175 kg/ha as the limit based on experience/intuition/measurements.
Plant protection – This was quite a challenge. The growing season was unexpectedly wet and warm, which meant weeds thrived and diseases spread.
For example, dandelion started spreading vigorously, consuming large amounts of water and nutrients — exactly what my wheat needed. Therefore I had to do one more herbicide application than usual.
Fungicide use was also higher than normal — three rounds instead of two. The long autumn brought brown rust patches, and since the weather continued to favour disease spread, I made the first treatment already before winter. In spring I applied two more rounds, using higher rates than usual because conditions favoured disease development. If diseases had progressed, wheat quality would have suffered. Initially I was advised to apply a fourth fungicide spray in summer at flowering — but I decided to take the risk since the crop looked healthy and I hoped “Perenaise” would cope.
Harvesting – Food-grade winter wheat is extremely sensitive to rain. A single multi-hour rainfall can drop your top-class wheat by several quality grades and turn it into feed wheat. The main issue is the falling number decreasing — falling number reflects amylase activity, which affects dough elasticity. A high falling number (over 270 sec) is a hallmark of top-class wheat. Therefore I constantly monitored to ensure harvesting wasn’t done too early, but also so that the field wouldn’t get caught by rain.
Drying – Since this project was important for me, I dried and cleaned the wheat in my own dryer. For food wheat you must ensure the grain temperature does not exceed 55 °C, as otherwise quality loss may occur.
It was quite a serious undertaking — wasn’t it? But thankfully everything went well. The first and later analyses showed that I achieved top-class food wheat, and the results were as follows:
- Protein: 15.4 %
- Gluten: 33.9 %
- Impurities: 0.2 %
- Test weight: 775 g/l
- Wild oats: 0 grains/kg
- Moisture: 13.9 %
- Sprouted kernels: 0 %
- Ergot & bunt: 0 %
- Fusarium-damaged kernels: 0 %
- Falling number: 375 sec
Although the other indicators were comfortably above the threshold for Class I, the test weight was just barely over — the requirement is at least 770 g/l. Yield was below expectations: 4.41 t/ha, which given the nitrogen rate and field condition was underwhelming. Still — the season was exceptionally wet, and other varieties with much higher potential suffered even more from excess moisture: yields were similar, and in some cases quality wasn’t even feed-grade.
The wheat was dried and bagged — it was time to drive to Koksvere Mill and finally make the wheat “ready to eat”. For me it was fascinating to see how the work and effort turned into flour.
Hopefully this story resonated with you and you’re ready to try the flour yourself — flour whose quality you can trust, and whose entire story has been told from start to finish by one Estonian farmer.